
Blog
How to Apply Temporary Tattoos: A Step-by-Step Guide for a Natural Look
Before You Start: The “Fake Look” Problem
You bought the tattoo. You’re excited to wear it. But you’re worried it might look… well, fake.
That plasticky shine. Those visible edges. The way it sits on top of your skin instead of looking like it belongs there.
We get it. A bad application ruins even the best tattoo design. That’s why learning how to apply temporary tattoos the right way is the secret to making them look natural, not obvious.
Here’s the good news: with the right technique, temporary tattoos can look surprisingly real. Like, “wait, is that actually tattooed?” real. Mastering how to apply temporary tattoos isn’t just about sticking it on—it’s about making it blend in, stay put, and look like it’s part of your skin.
In this guide, we’ll walk through:
- How to prep your skin (the step everyone skips)
- The exact application method we use for photos
- How to make edges disappear
- Common mistakes (and how to fix them)
Why Most Temporary Tattoos Look Fake
Before we fix the problem, let’s understand it.
Temporary tattoos have a few giveaways that make them look fake:
| Problem | What It Looks Like | Why It Happens |
|---|---|---|
| Shiny finish | Plastic-looking skin | Adhesive reflects light |
| Visible edges | A clear “sticker” outline | Thick film around the design |
| Too perfect | Looks stamped on | Perfect placement, straight edges |
| Wrong placement | Looks awkward | Put on a body part that moves a lot |
| Bubbles | Bumpy texture | Air trapped under the tattoo |
The good news? Every single one of these is fixable. Let’s get into how.
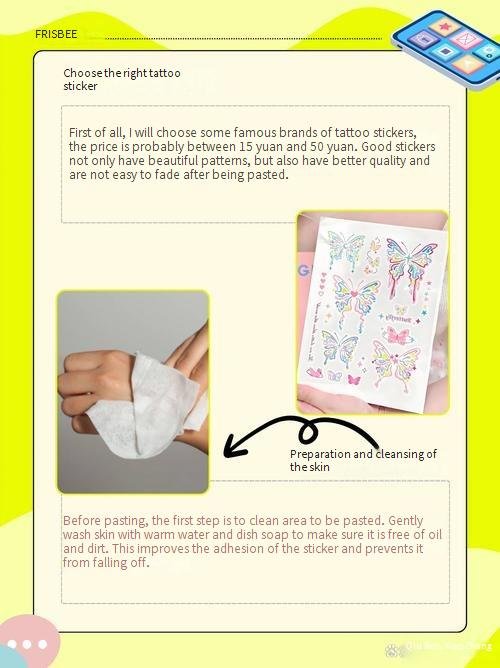
Step 1: Prep Your Skin (The Step Everyone Skips)
This is the most important step—and the one most people rush through. Mastering how to apply temporary tattoos starts here, because even the best designs fail without a clean, oil-free base.
What you need:
- Soap and water
- A clean towel
- (Optional) Rubbing alcohol
The prep routine:
1. Wash the area with soap and water. Really wash it—20 seconds minimum. You’re removing natural oils, leftover lotion, and invisible dirt. This step is non-negotiable if you want your design to stay put and look natural, and it’s the foundation of every guide on how to apply temporary tattoos.
2. Dry completely. Like, completely. Pat dry with a clean towel. No moisture left behind.
3. (Optional but powerful) Wipe with a tiny bit of rubbing alcohol on a cotton pad. This removes any last traces of oil. Skip this if you have sensitive skin.
4. Don’t apply lotion. Wait until after the tattoo is on.
By following this prep routine, you eliminate the two biggest enemies of temporary tattoos: oil and moisture. This is why proper prep is always the first rule when learning how to apply temporary tattoos for a long-lasting, natural look.
What not to do:
- ❌ Apply over lotion or oil (tattoo won’t stick)
- ❌ Prep right after a shower (skin is still oily)
- ❌ Skip this step because you’re in a hurry (you’ll regret it)
💡 Pro tip: Hairless, flat skin areas work best. Inner forearm? Great. Knuckles? Much harder. Choose your placement wisely.
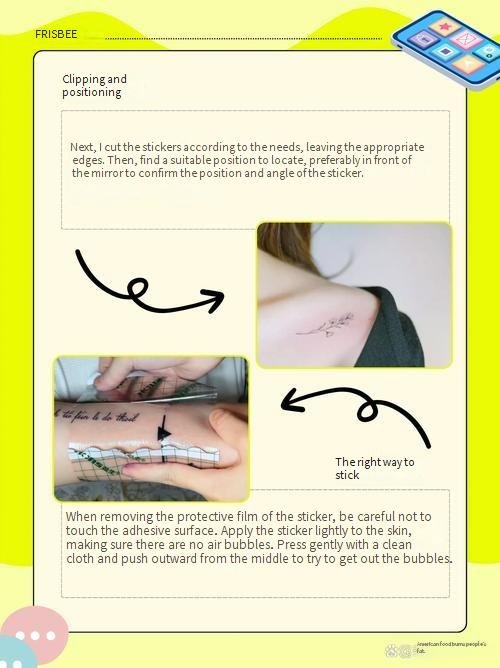
Step 2: Cut and Position
Now that your skin is ready, let’s get the tattoo ready. This step is all about precision—and it’s a key part of learning how to apply temporary tattoos that look seamless, not obvious.
Cut it out:
- Cut as close to the design as possible
- Leave no clear film around the edges (that’s what creates visible outlines)
- For round designs, cut in a circle. For complex shapes, follow the outline.
Trimming away excess film is one of the easiest hacks in how to apply temporary tattoos for a natural look—this simple step eliminates the “sticker” edge that gives away most designs.
Test the placement:
- Hold the tattoo where you think you want it
- Move around. Bend. Stretch. See how it looks in different positions
- Try a few spots before committing
Before you peel the backing, take 30 seconds to test placement. It’s a small detail that makes all the difference in how to apply temporary tattoos for a look that feels intentional, not random.
Pro placement tips for a natural look:
| Placement | Natural Look Rating | Why |
|---|---|---|
| Inner forearm | ⭐⭐⭐⭐⭐ | Flat, hairless, moves naturally |
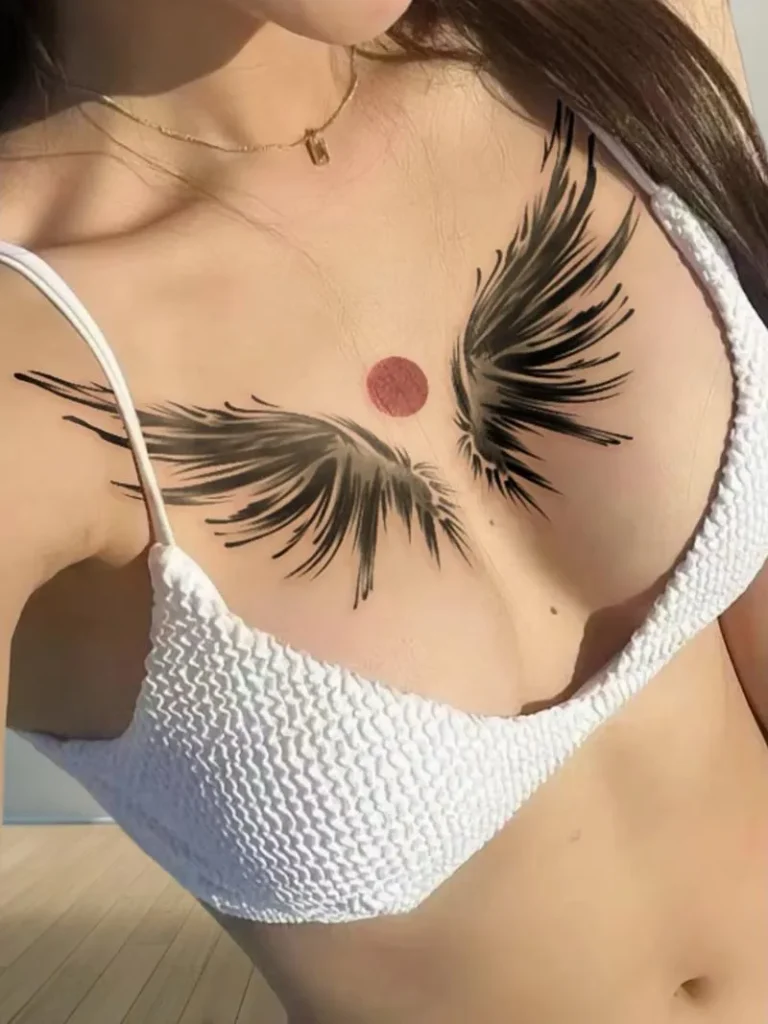
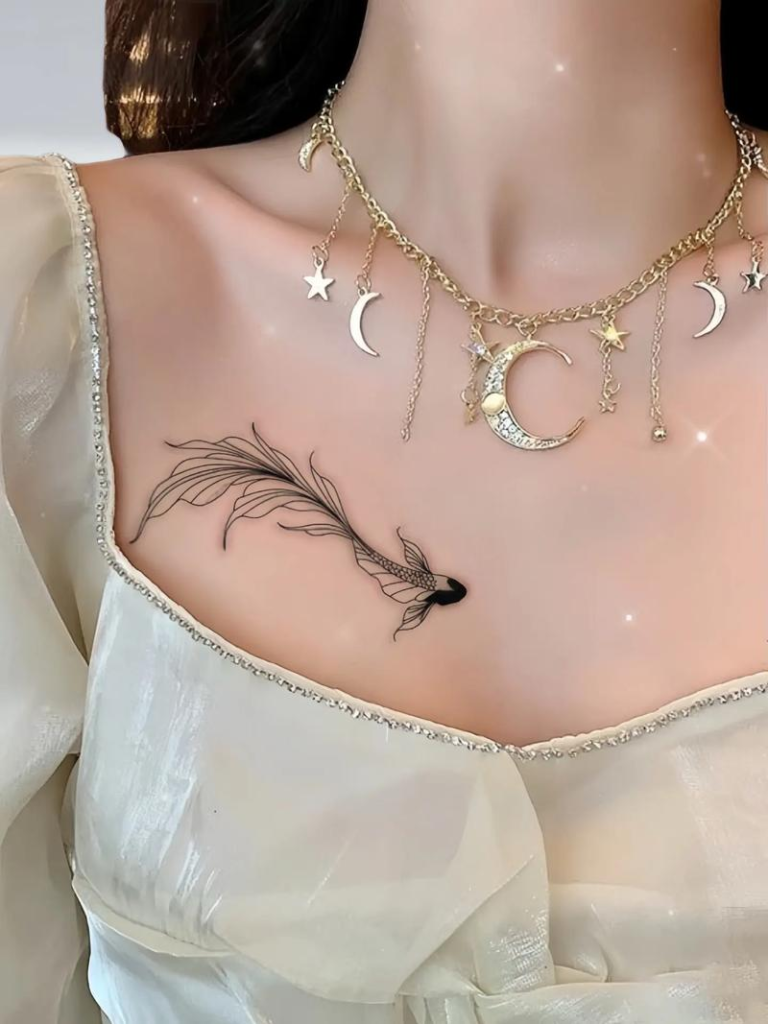
| Collarbone | ⭐⭐⭐⭐⭐ | Looks like intentional body art |
| Shoulder | ⭐⭐⭐⭐ | Covers well, looks good in tank tops |
| Ankle | ⭐⭐⭐⭐ | Cute, subtle, easy to hide |
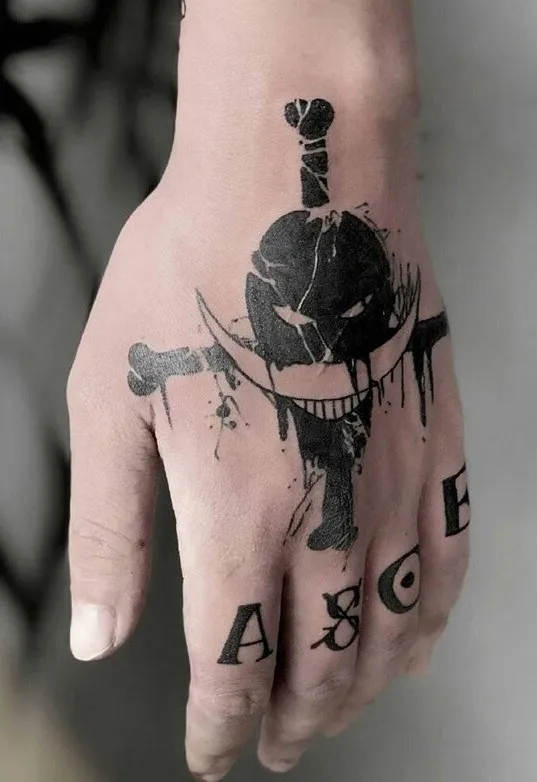
| Hand/fingers | ⭐⭐ | High movement, fades fast, looks less real |
| Neck | ⭐⭐⭐ | Looks cool but harder to make natural |
💡 Pro tip: Slightly angle the tattoo. Perfectly straight placement looks stamped on. A 5-10 degree angle looks more organic.
Step 3: Apply (The Right Way)
This is where most people mess up. Follow these exact steps—this is the core of how to apply temporary tattoos for a long-lasting, natural finish.
What you need:
- A damp sponge or soft cloth (not dripping wet)
- A timer (your phone works)
The application method:
1. Peel off the clear backing. The tattoo should be face-down on your skin (paper side up). This simple step is where many go wrong, so double-check orientation as you master how to apply temporary tattoos.
2. Position it carefully. Once it touches skin, it’s harder to move.
3. Wet the paper backing thoroughly. Use your damp sponge or cloth. Get it fully saturated.
4. Press firmly. Use steady pressure. Don’t rub—that can shift the design.
5. Wait 30-60 seconds. This is where people rush. Set a timer. The adhesive needs time to bond. Patience here is key to making how to apply temporary tattoos work for you.
6. Peel slowly. Start at one corner. If the design lifts with the paper, press and wait another 15 seconds.
The “natural look” trick: While waiting, don’t move the body part. Keep it still. Movement during bonding = blurred edges.
💡 Pro tip: For larger tattoos, work in sections. Wet one area, press, then move to the next. Don’t try to wet the whole thing at once.
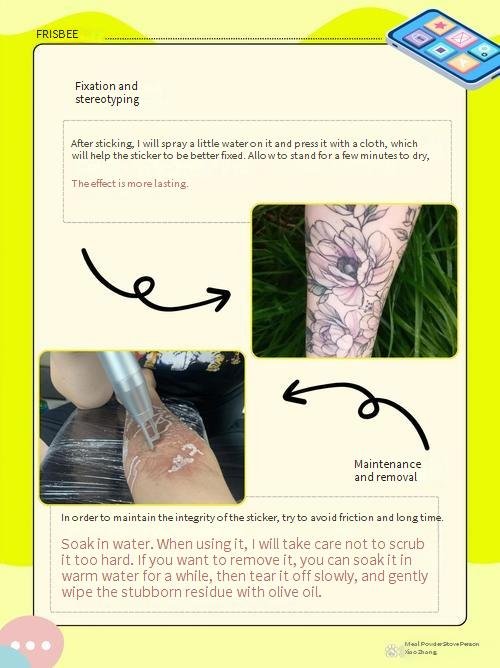
Step 4: Make the Edges Disappear
This is the secret step most people don’t know about—and it’s the final, game-changing part of how to apply temporary tattoos that look truly natural, not just stuck-on.
Right after peeling:
1. Let it dry completely. Don’t touch it for 2-3 minutes. The adhesive is still setting.
2. Dust with translucent powder. Use a makeup brush or your finger. Lightly dust over the tattoo. This:
- Removes the shiny finish
- Blends edges into your skin
- Makes it look matte, not plasticThis simple trick is one of the most underrated hacks in how to apply temporary tattoos for a skin-like finish.
3. Pat, don’t rub. Gently pat the powder on. Rubbing can lift the edges.
4. (Optional) For an even more natural look, apply a tiny amount of setting spray. This locks everything in.
What not to do:
- ❌ Use tinted powder (it will change the tattoo color)
- ❌ Rub the tattoo right after application
- ❌ Apply lotion over it (wait a few hours)
Step 5: Avoid These Common Mistakes
| Mistake | What Happens | How to Fix |
|---|---|---|
| Not prepping skin | Tattoo peels within 24 hours | Start over on clean skin |
| Rushing the wait time | Design lifts with paper | Press and wait longer |
| Moving during application | Blurry, smudged edges | Keep still for 60 seconds |
| Applying over hair | Tattoo looks bumpy | Shave or choose a different spot |
| Using too much water | Adhesive washes away | Damp, not dripping |
| Forgetting the powder | Shiny, plastic look | Add powder after drying |
Natural Look: Before & After
Without these steps:
- Shiny finish
- Visible clear edge
- Looks like a sticker
- Peels within 2 days
With these steps:
- Matte, skin-like finish
- Invisible edges
- Looks like real ink
- Lasts 5-7 days
How to Make It Look Like a Real Tattoo (Advanced Tips)
Once you’ve mastered the basics of how to apply temporary tattoos, try these pro techniques to take your look to the next level:
The “aged” look:
Real tattoos fade slightly over time. To mimic this:
- Apply the tattoo
- Wait 24 hours
- Lightly dust with a tiny amount of translucent powder mixed with a speck of warm-toned eyeshadowThis subtle trick is a secret weapon in how to apply temporary tattoos for a lived-in, authentic vibe.
The “placement test”:
Real tattoos aren’t always centered perfectly. Try:
- Slightly off-center placement
- Following your body’s natural lines (collarbone curve, muscle definition)
- Angling with your movement, not against itMatching your tattoo to your body’s natural flow is a key detail when refining how to apply temporary tattoos for realism.
The “stack” technique:
Multiple small tattoos look more realistic than one large perfect one. Try:
- 2-3 small designs near each other
- Different angles
- Slightly different fade levels (apply them on different days)
Quick Reference: Your 5-Minute Routine
☐ STEP 1: Wash and dry skin (no lotion)
☐ STEP 2: Cut close to design edges
☐ STEP 3: Test placement at an angle
☐ STEP 4: Apply with damp sponge, press 60 seconds
☐ STEP 5: Peel slowly, re-press if needed
☐ STEP 6: Dust with translucent powder
☐ STEP 7: Don't touch for 10 minutes
Total time: 5 minutes
Result: Tattoo that looks real
FAQ: Application Questions
Q: How long should I wait before showering?
A: At least 2-3 hours. Overnight is better. The adhesive needs time to fully bond.
Q: Can I apply a tattoo over a mole or freckle?
A: Yes, but it won’t cover it completely. The tattoo is semi-transparent. Choose a clear spot for best results.
Q: Why does my tattoo look blurry?
A: You moved during application or used too much water. Next time, keep still and use a damp (not wet) sponge.
Q: How do I fix a tattoo that lifted at the edge?
A: Dampen the lifted edge with a tiny bit of water. Press firmly for 30 seconds. Let dry.
Q: Can I apply a tattoo on my own (hard-to-reach spots)?
A: For shoulders or back, ask a friend. For wrists and arms, use a mirror to check placement before applying.
Q: Will these steps work on all temporary tattoos?
A: Yes! These steps work for any brand. But starting with higher-quality tattoos helps. Our herbal gentle series was designed for natural-looking application.
The Bottom Line
A temporary tattoo only looks as good as its application.
You can buy the most expensive, high-quality tattoo on the market—but if you rush the prep, skip the wait time, or forget the powder? It’s going to look fake.
The good news? The fix is free. It just takes 5 minutes and a little patience.
Prep your skin. Wait the full 60 seconds. Dust with powder.
That’s it. That’s the secret.
Now go make your tattoos look real.
👉 Shop our collection —practice on our bestsellers
You Might Also Like
- How to Make Temporary Tattoos Last Longer: 3 Tricks That Actually Work
- Can Sensitive Skin Use Temporary Tattoos? Yes — Here’s How
- Herbal vs Regular Temporary Tattoos: What’s the Difference?
What’s your best application tip? Drop it in the comments—we might feature you in our next post!


